
Endpapers or endsheets (an InDesign guide)
Endpapers or endsheets need not be a source of confusion.
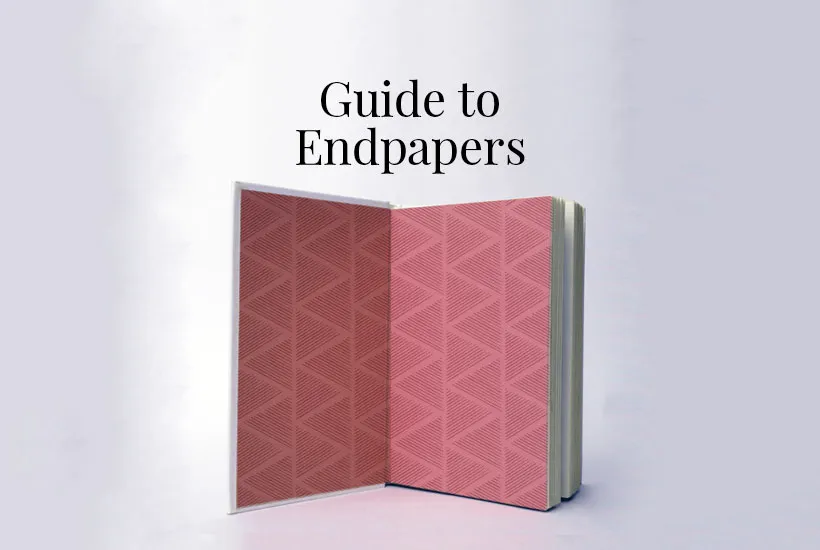
Endsheets that will print on press, are a fine and relatively inexpensive enhancement. Ends add an elegant finishing touch to hardcover books of all types. The right color or design on endpapers can help to make your book unique and especially attractive.
Traditionally, the ends print on thick uncoated paper.
You may also wish to choose a specialty paper stock for endpapers or even add a foil stamp or blind embossing as additional touches of style.
Endpapers are also known as “ends” or “endsheets.”
The endsheet art should be presented as a separate file from the text. The proper preparation of the endsheets file often causes confusion among designers who are not very familiar with book design. While a simple one color end is easy to designate with just a 4C sample or a PMS code, there is a foolproof way to present the endsheets file no matter how complicated the content might be. This entails the creation of an eight page file that will be finally presented as 8 single pages with all printer’s marks (trim, 3 mm bleed and color bars). When laying out the eight pages in spreads in your design software such as InDesign, be sure that page one is a right hand page just as with your text.
The 8-page endsheets file is comprised of:
Page 1. Glues to inside of front cover (blank)
Page 2. Inside front cover (left page on spread)
Page 3. Facing page (right page on spread)
Page 4. Page before the text block
The text block is between front and back endpapers.
Page 5. This is the page after the text block
Page 6. Facing back cover (left page on spread)
Page 7. Inside back cover (right page on spread)
Page 8. Glues to inside of back cover (blank)
Presenting the final PDF in this manner eliminates any source of confusion for the printer regarding pagination of your endsheets.
This is how to set-up the document in Adobe InDesign. Go to File > New, select Document.

This is how the layout will look while working in InDesign. The color is represented here to show the ends at the front of the book, versus the ends at the back of the book.
The entire book file that is in another document file, will fall in the middle of the endpapers, and that is between pages 4 and 5.
The 1/0 Setup in the diagram below is showing the setup when printing on one side of the page.
The 1/1 Setup shows the setup when printing on both sides of the page.
The reason why you must submit the endsheets and interior book pages in separate files is because almost all the time they will print on different paper stock, and different paper thicknesses than the interior text pages.


